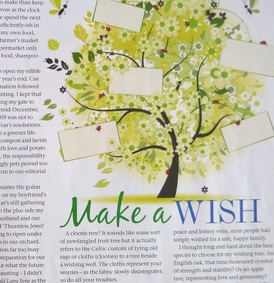
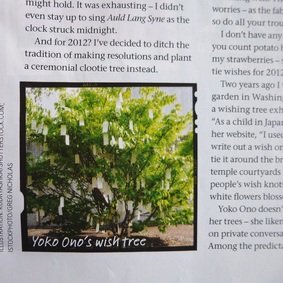
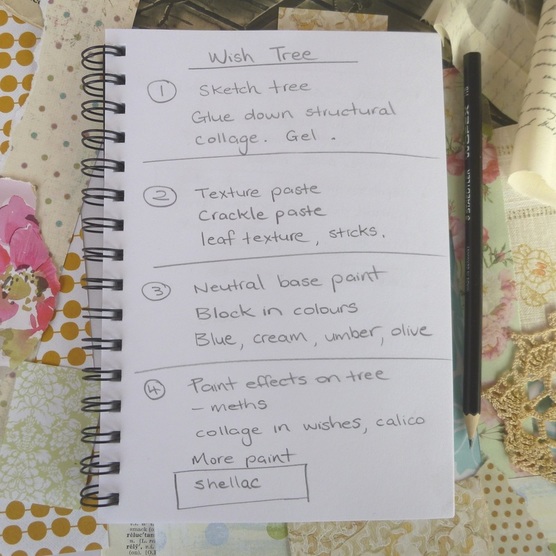
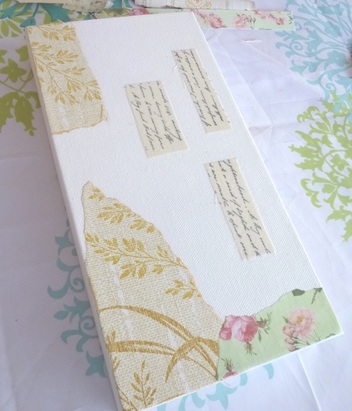
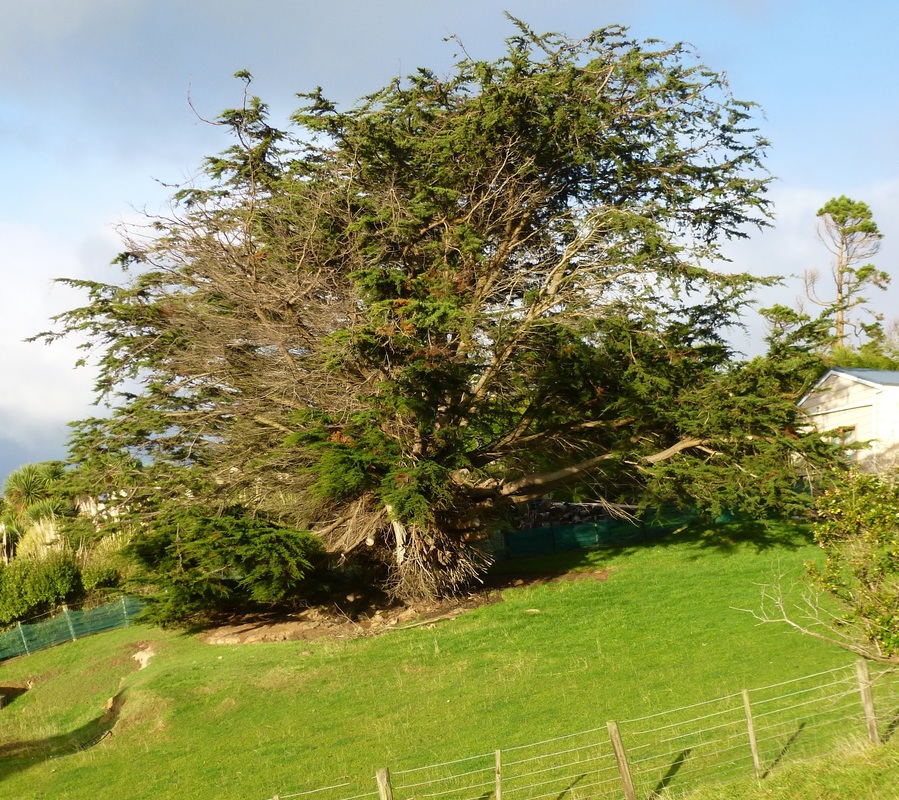
Wish or Worry? Where did that idea come from?I've been thinking about this idea for a painting since last Christmas. The idea first surfaced when I heard an advert on the radio seeking support for the 'Wishing Tree' at the Dunedin K Mart store. People donate gifts under the tree which are then distributed to children in need at Christmas time. A great charity bringing joy to where it is needed most. Artist mind begins to think....a wishing tree would make a great painting.... What would the wishes be? What tree would I paint? What colour palette? The idea sat in the back of my mind waiting patiently. Then recently I came across this article in an old NZ Gardener Magazine (January 2012) that someone had passed on to me and I started thinking about the wishing tree again. The article written by Lynda Hallinan, is about planting a New Years Ceremonial 'Clootie Tree'. (There is a) "Celtic custom of tying old rags or cloths (clooties) to a tree beside a wishing well. The cloths represent your worries - as the fabric slowly disintegrates, so do all your troubles". The author also mentions visiting a sculpture garden in Washington DC that featured a wishing tree exhibition by Yoko Ono. This flow of ideas also demonstrates how no idea is truly original and everything is derivative or influenced by what already exists. It's how creativity works. So now I had two directions I could steer this idea....wish or worry? I hate to say it but my worries list was just as long as the wish list. However I decided not to focus on my worries but instead breathe life into my wishes. A plan of action... An exploration first on a small canvas. The small painting is in its beginning stages... And the wishing tree model.....a gnarly old macrocarpa just up the hill from our Beach Cottage at Kaka Point. This old tree has witnessed many people and their wishes come and go through the century. A very apt model for a 'wishing tree'.
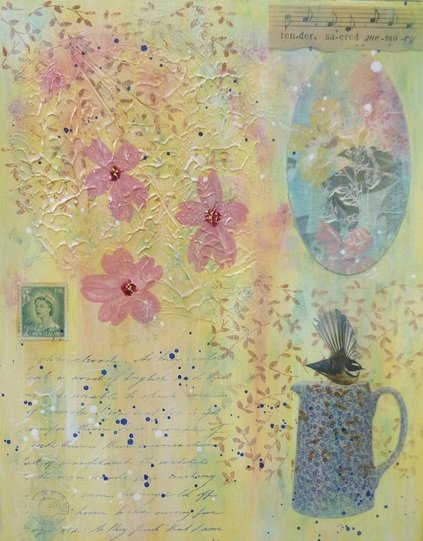
Best Wishes! Sue Nostalgia Series - Final LayersWhen working on several pieces at once I move from one piece to another applying paint or whatever medium I'm using at the time. It is easy to get lost in the process and forget exactly what you have done. Your artist eye looks critically at a work and you decide what it needs next. I always work with balance in mind. Something I learned from talented NZ Watercolour Artist Nancy Tichborne. Here's an update on the finishing layers to one of the Nostalgia pieces. When last photographed it was at this stage...bright yellow. (Sorry there's not more photographs of the different stages...it is something I need to practice). I toned down the bright yellow with a pale yellow paint and added white highlights in some areas. A craft stamp using white paint was applied in some areas. To add a focal point the gladioli flowers were painted on - an extension of the collaged paper. A piece of sheet music (with words that were relevant to my theme), was then added to the top right corner to fill the space and add balance. I then added a bit more pale yellow, magenta and green/blue paint to balance and pull the piece together. A thin layer of shellac varnish was painted over the textured area enriching the colours and adding a vintage patina. Final Touches Bright blue paint flicks were added imitating the little blue 'forget-me-not' flowers on the jug, then white paint flicks for added highlights. I possibly could have kept adding more details to this piece but chose to stop here at this interesting place. A final layer of gloss varnish was applied to protect and give the surface a uniform appearance. Oh and of course it needed a title......'Tender Memory'.
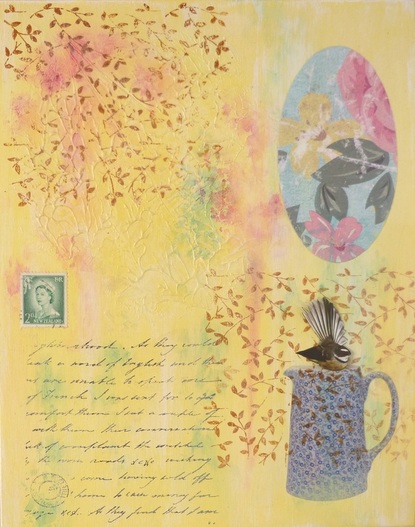
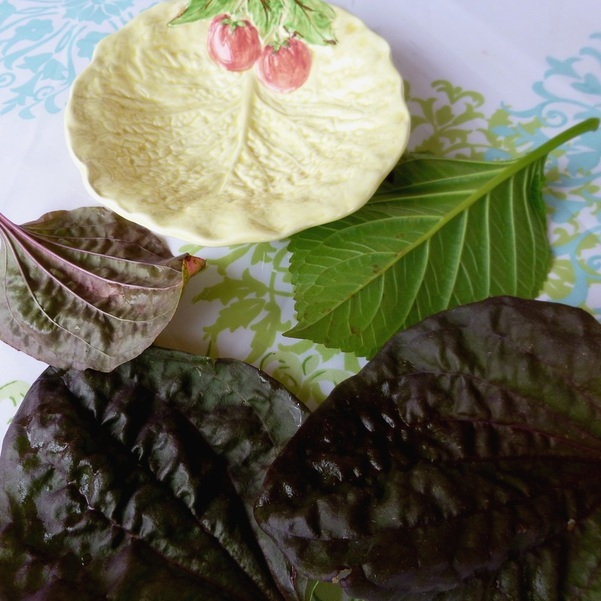
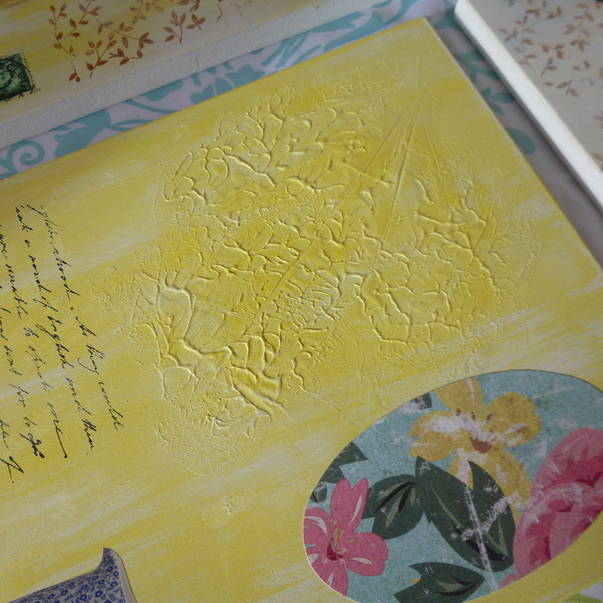
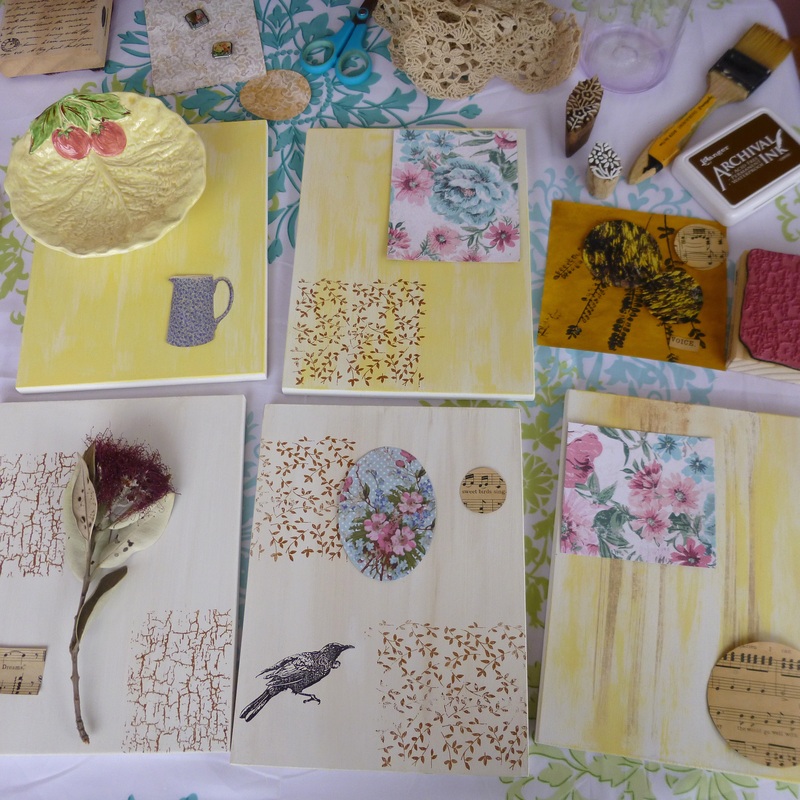
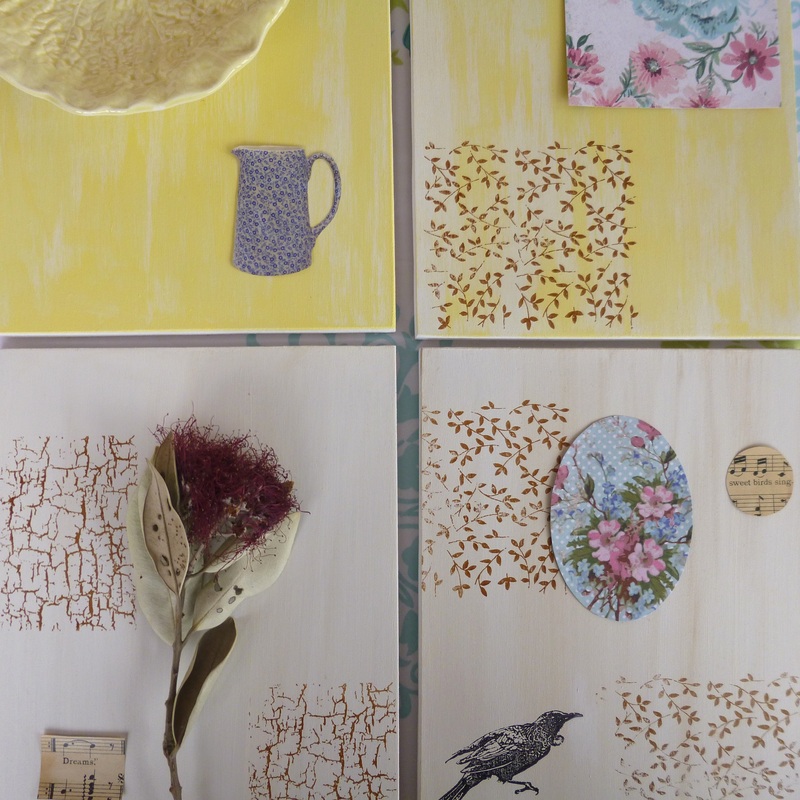
For me it represents special memories of my Grandmother xx Sue Nostalgia Series -TextureAutumn weather has arrived and with it a cold southerly front. It's a perfect time to withdraw to the studio. My boards already have some base layers of paint applied and a few collage pieces arranged. After contemplating the collection of inspiration on my table I decided to start with some texture on my boards. The yellow china plate that I love has an organic feel to it so I decided to search my garden for leaves I could use to suggest this. I returned with plantain lily and hydrangea leaves. I spread a layer of texture paste on the area of board where I wanted texture then pressed the lily leaf into the paste, then lifted it off. The leaf lifted off some of the paste which remained on its surface. I pressed the leaf onto another board to transfer this paste and create more texture. When the textured paste had dried I lightly sanded the surface to round off any edges. Pictured below is the result, with a couple of layers of paint applied over the top. Still lots more layers to go until these pieces will be finished. Will post an update next week. Hoping for some warm Autumn sun to quickly dry paint now.
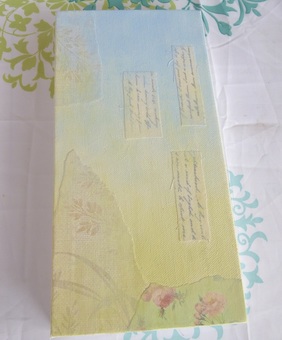
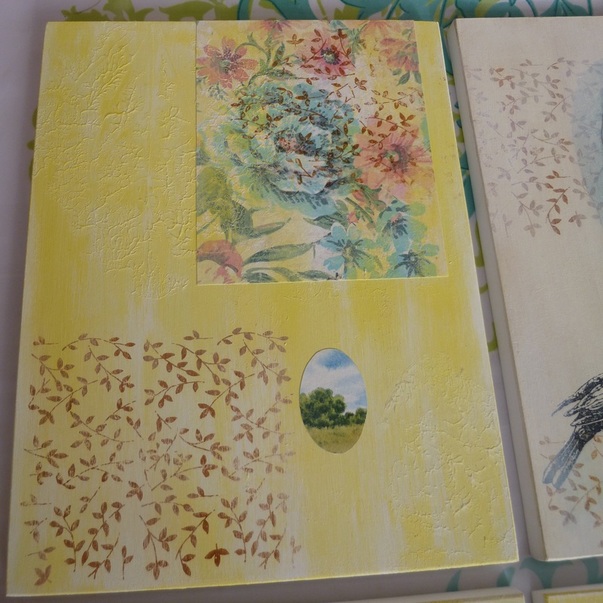
Sue Life is busy and I have finally made it to my studio this week to do some creative work. Weeks ago I decided I would cut a spare sheet of MDF board, which had been cluttering up our garage, into painting supports. The preparation of boards as supports is a drawn out process. Owen first had to cut the sheet into the numerous sizes I wanted. I then had to sand edges, then coat surfaces with a sealer. Then it was time for two coats of gesso, including edges. They were finally ready to paint on! This new series of work on boards is called 'Nostalgia'. Inspired by my recent vintage finds and treasures you have seen on the Inspiration Table. I wish to conjure a sense of a by gone era....perhaps memories from our past. Here is a photo of the very early base layers... Nostalgia SeriesThere are many more layers to go before these pieces will be finished. More updates to follow.
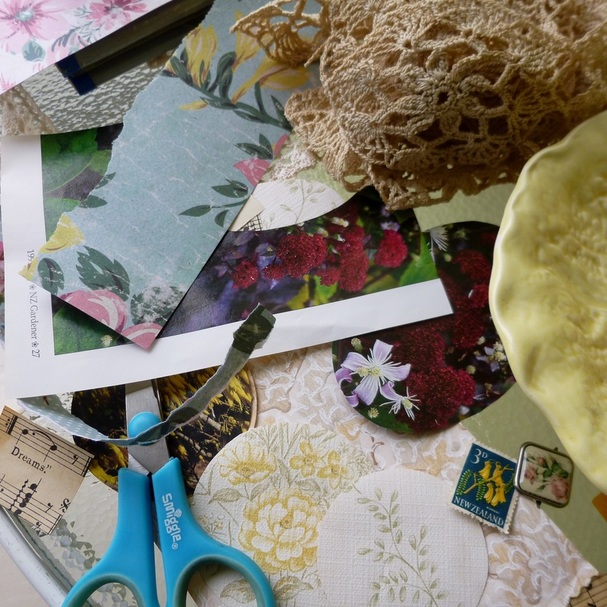
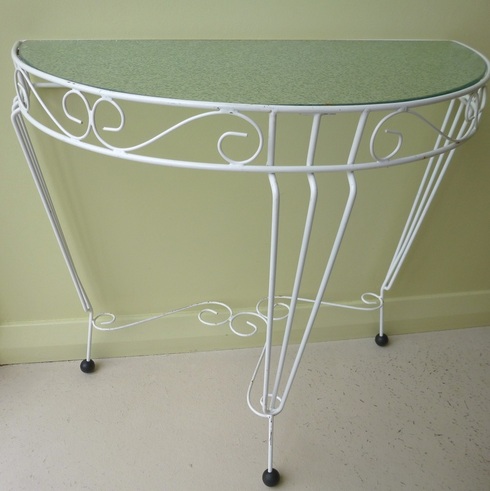
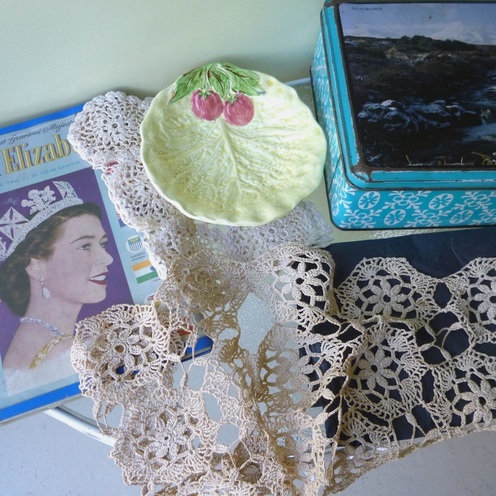
And now I need to let the ink dry before I continue to work on them.....I have learnt from experience that it pays to be patient! Sue x Inspiration TableMy studio is a sunroom at the front of our house. Three of the walls have large windows and one end is an open doorway. It is a very light filled space. Working areas are at a premium and need to flow, so to help with the creative chaos I decided I needed an actual 'inspiration table'. So here it is....a retro beauty straight from the sixties with a metal frame and glass top, perfect for my studio space and inspiration table. I spied it on the pavement outside my favourite vintage shop. Thank you Vanessa from Two Squirrels Vintage! And the contents this week are more vintage finds.... The old lace doily I could use as a stencil or possibly incorporate pieces into my work. I love the soft vintage colours and texture of the ceramic dish, and the blue & white pattern on the old biscuit tin...a good starting place for colour inspiration. The book on the young Queen Elizabeth ll contains stunning black and white photo's of this iconic female from the 1950's....possibly great content for backgrounds or a whole theme/series of its own!
Now to go and apply all this inspiration in the studio. Sue x |
Sue McPhee
Welcome, this space is where I share my art, inspiration and creative journey. Archives
August 2018
Categories |
 RSS Feed
